
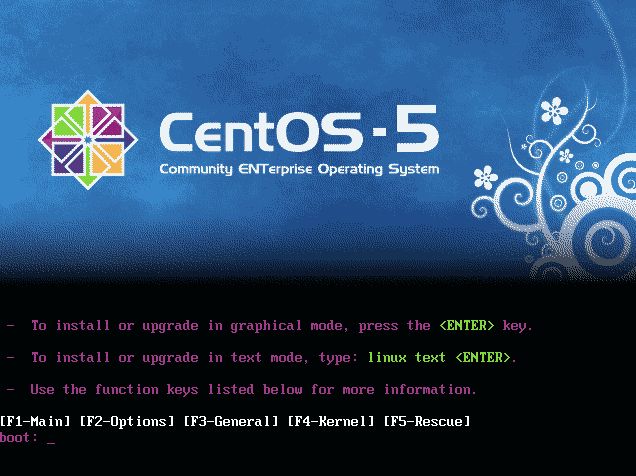
| [1] | Insert a Disc in CD/DVD drive and reboot computer. First, Following screen is shown, then push Enter key. |
 |
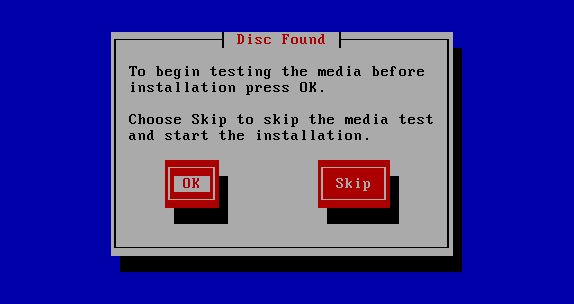
| [2] | Following screen is shown, CD/DVD is Checked in this section. It's so long, so Skip it. |
 |
| [3] | Click 'Next' button to proceed. |
 |
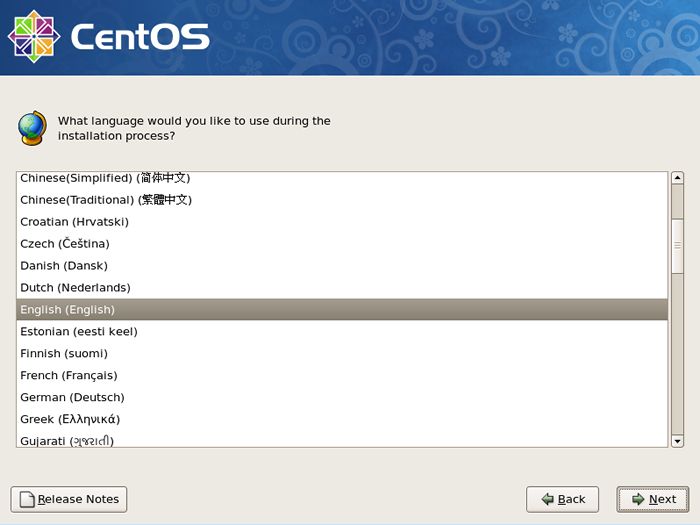
| [4] | Select the language that you want to use during the installation. |
 |
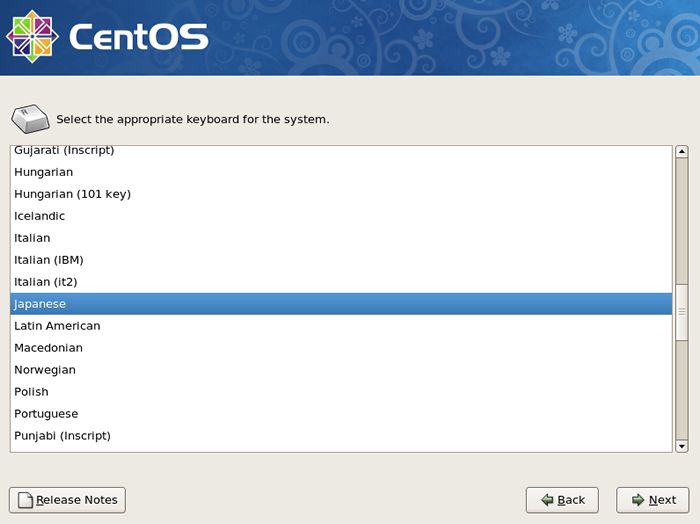
| [5] | Select keyboard type you using. |
 |
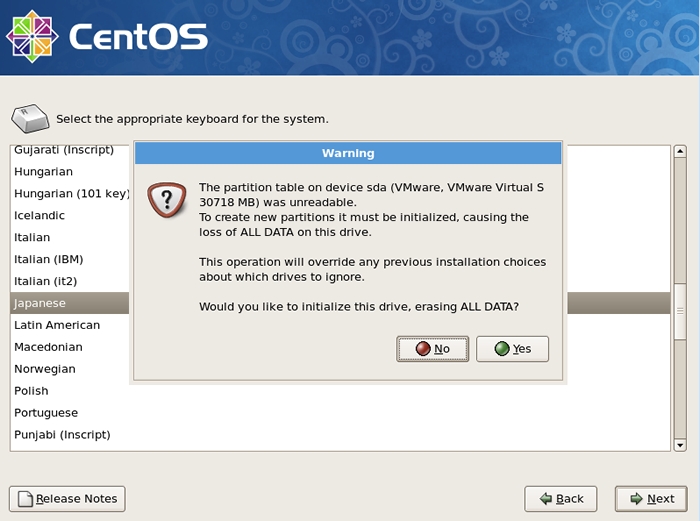
| [6] | Following window is shown. If all HDs on the computer don't have important datas for you, it's no ploblem. Click 'Yes' and proceed to next. If there are some datas that are important for you, Saving them to another HDs or CDs/DVDs first. |
 |
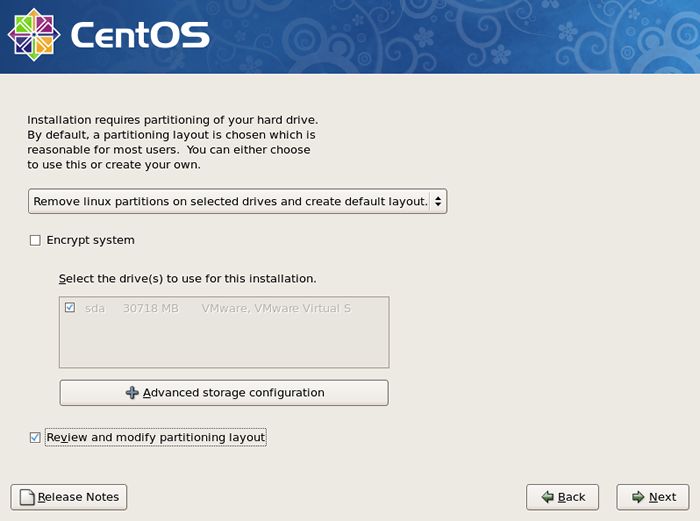
| [7] | Change partition layouts. Click the checkbox 'Reviw and modify partitioning layout' and proceed next. |
 |
| [8] | Click 'Yes'. |
 |
| [9] | The screen that you can change partition layouts is shown. |
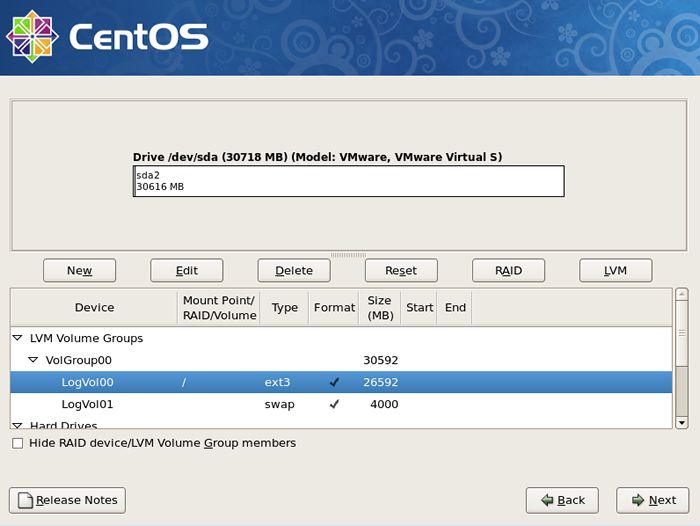 |
| Following example is the settings I did. | |
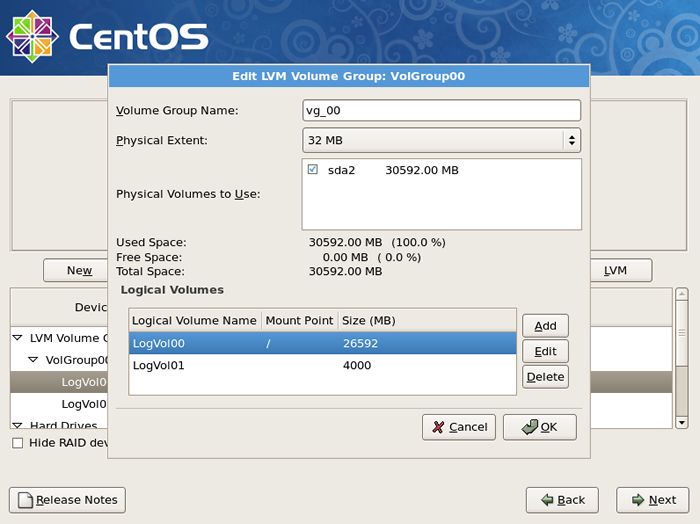 |
| (1) | Here is an example of changing Procedure of partition layouts. Delete default Logical Volumes all first. Select 'VolGroup00' and click 'Edit' button. |
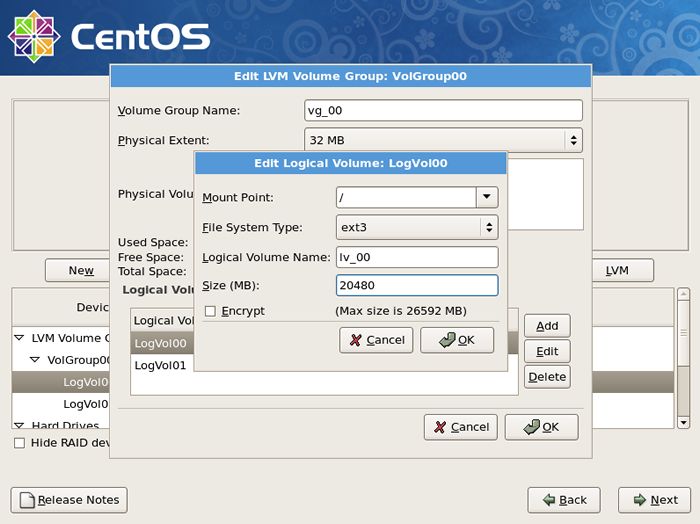 |
| (2) | You can rename volume group name 'VolGroup00' to another one you like. Next, click the 'Add' botton. |
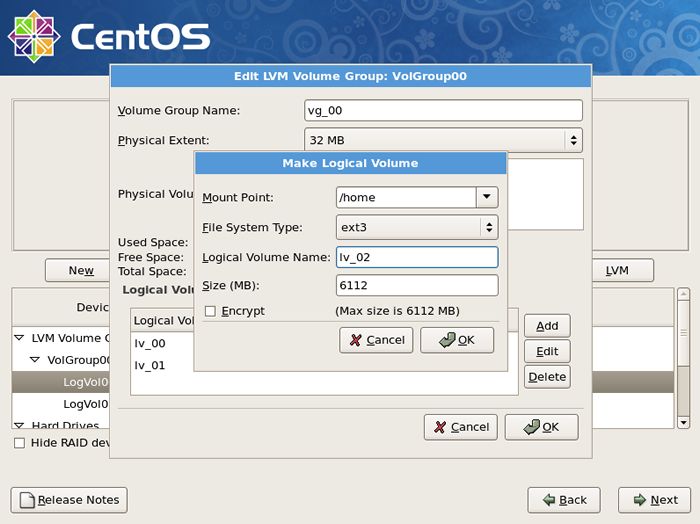 |
| (3) | Configure settings you want to like following the screen. |
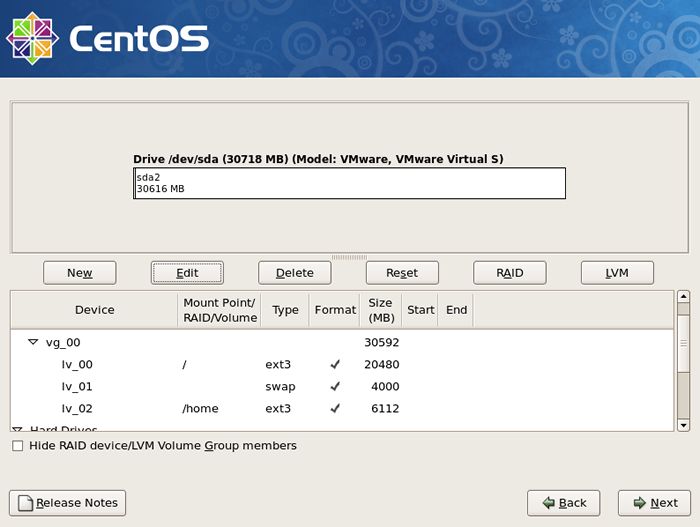 |
| [10] | This is the bootloader section. Set configuration for boot loader if you need. |
 |
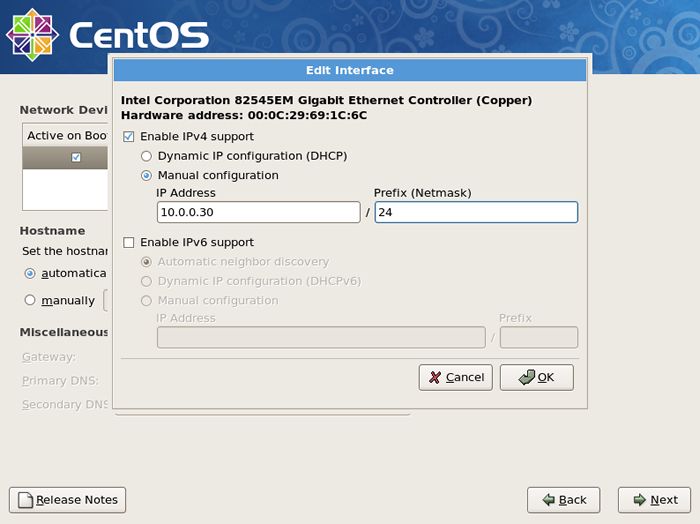
| [11] | It's the section to configure for networking. Click 'Edit' button to set config. |
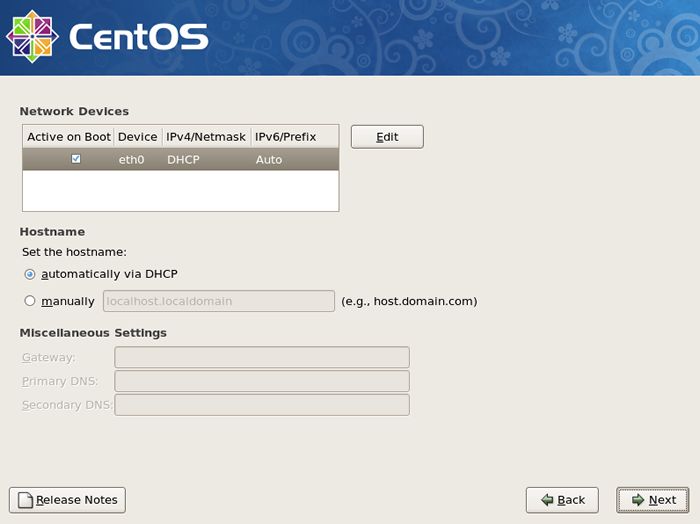 |
| [12] | Uncheck the IPv6 if you don't need to it. DHCP is unneccessary for server usage. And input your server's IP address in IPv4 section like below. |
 |
| [13] | Input your server's Hostname as [(any name you like).(domain name you got)]. And Input the Gateway's and nameserver's address for your local network like below. |
 |
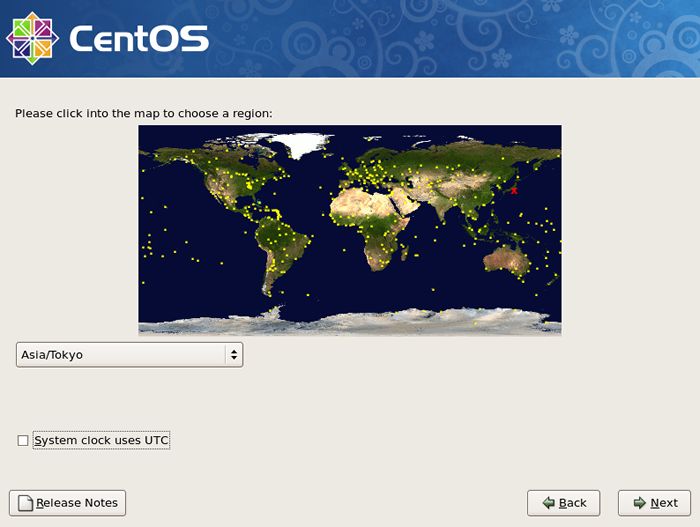
| [14] | Set your timezone and go next. I don't recommend to use UTC. Uncheck it. |
 |
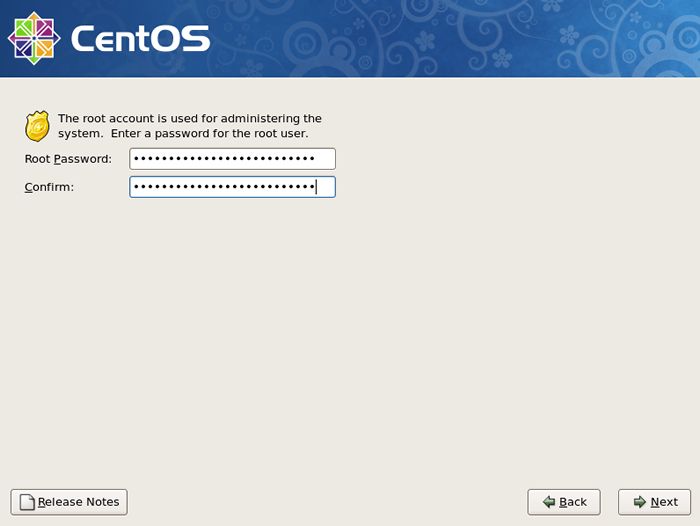
| [15] | Set root password and go next. |
 |
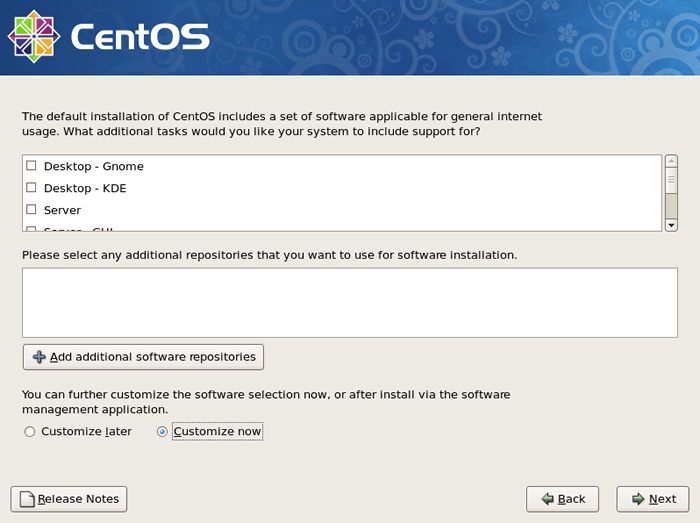
| [16] | This is the section you select softwares you would like to install. It's not recommended to install many softwares first. Check a box 'Customize now' and go Next. |
 |
| [17] | Uncheck boxes all first. Next, check a box 'Development Tools' like following screen. This Tools, especially gcc which is included in this, are often needed, so it's better to install now, I think. |
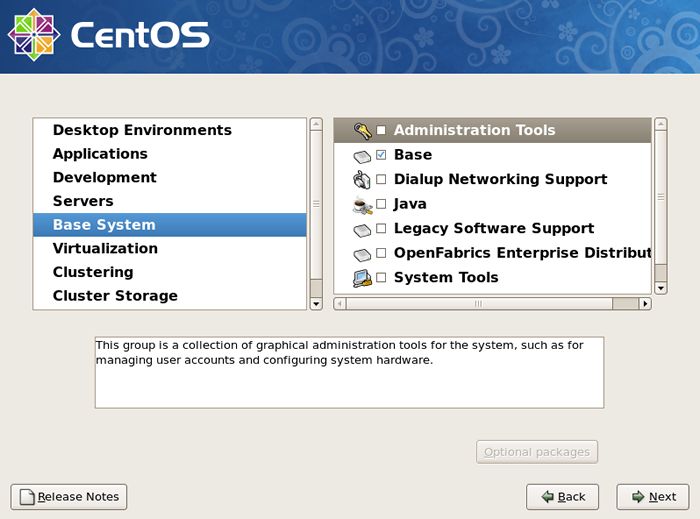 |
| [18] | Check a box 'Base' and go Next. |
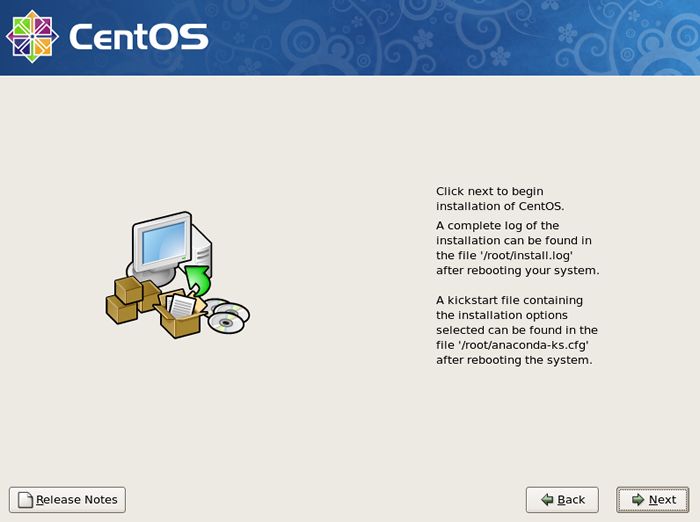 |
| [19] | Click 'Next'. |
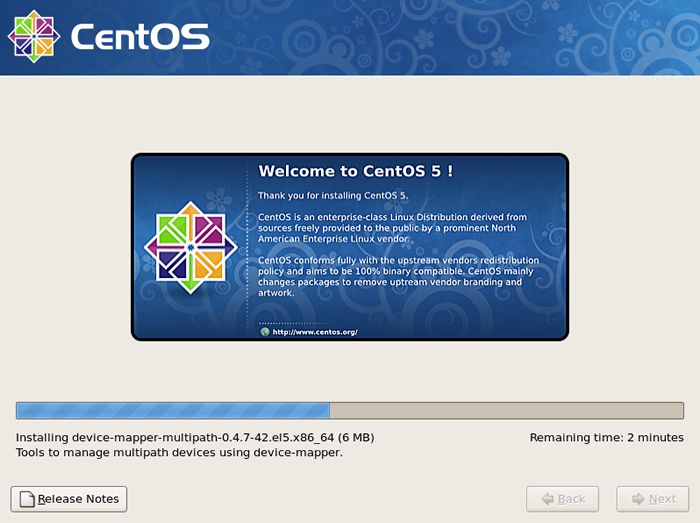 |
| [20] | Wait for a moment. Installing is just being done. |
 |
| [21] | Installation has finished. Click 'Reboot' button. |
 |
Boot the system
|
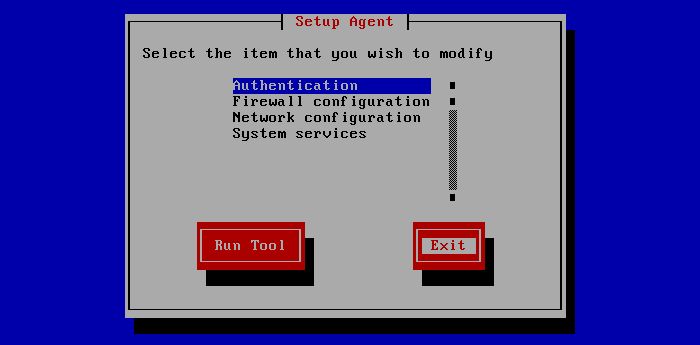
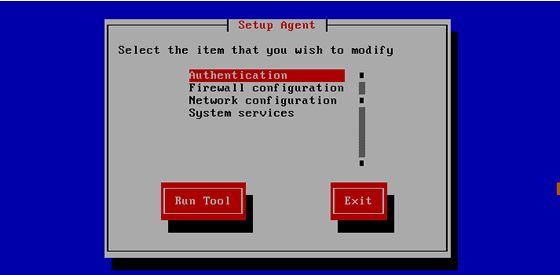
| [22] | The following screen is shown at first booting. It's possible to configure about following sections. You can enter this configuration mode later with a command 'setup' If you skip this steps now. |
 |
| [23] | Booting has completed and login prompt is shown. Input 'root' as a username and push 'Enter' key, and next, Input password for root which you set during the installation. |
 |
No comments:
Post a Comment